How to create optimum position and stability in the wheelchair
It is challenging enough to find the correct position for a wheelchair user, and even more challenging for a comfort wheelchair user where you want to maintain the good seating position for many hours.
The correct position of the pelvis and the stability of the pelvis are key areas for the good seating position. The primary position and stability will be created with the standard parts of the wheelchair:
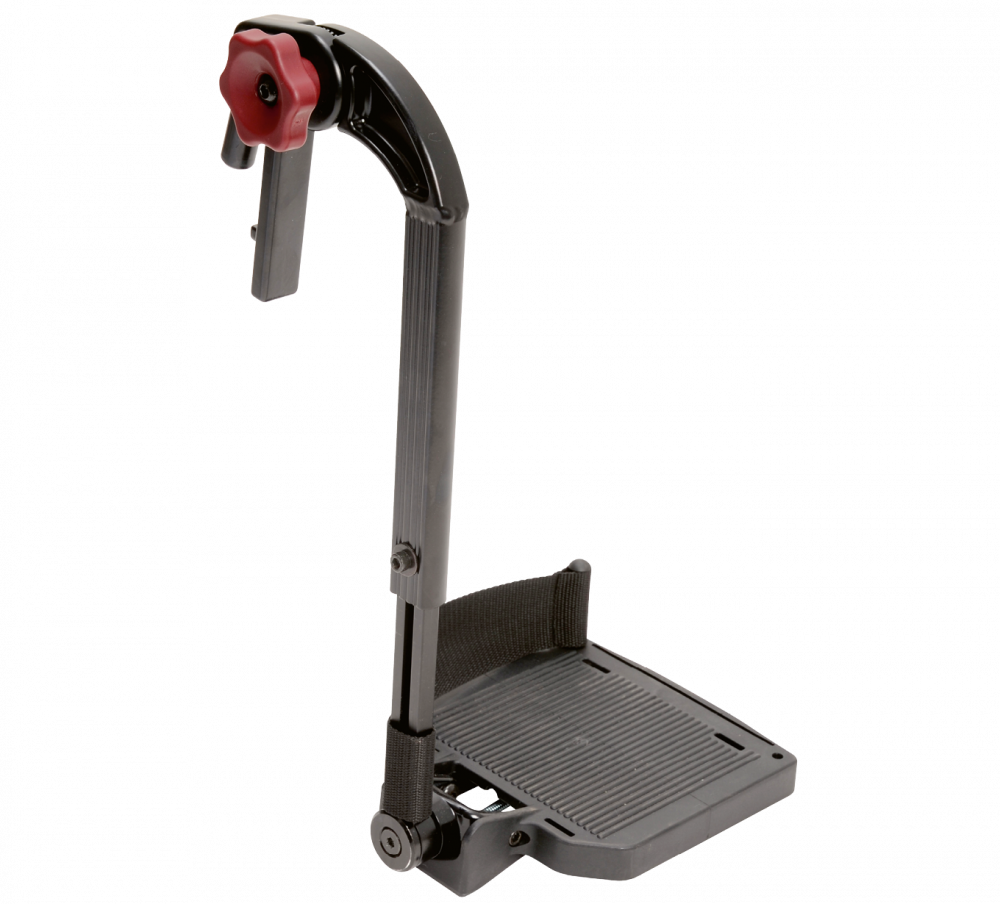
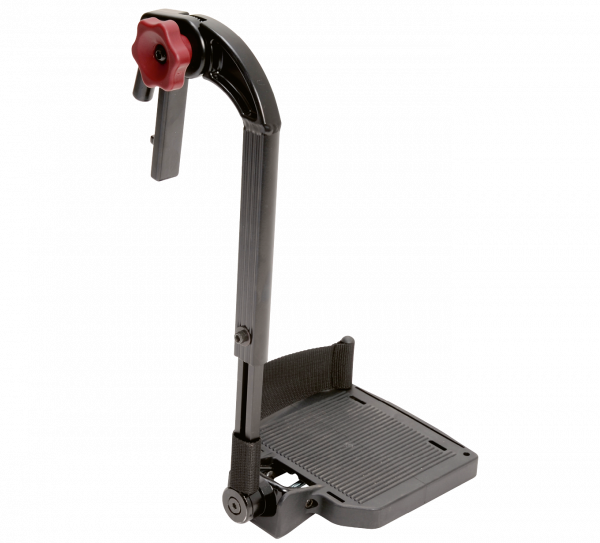
- Leg supports
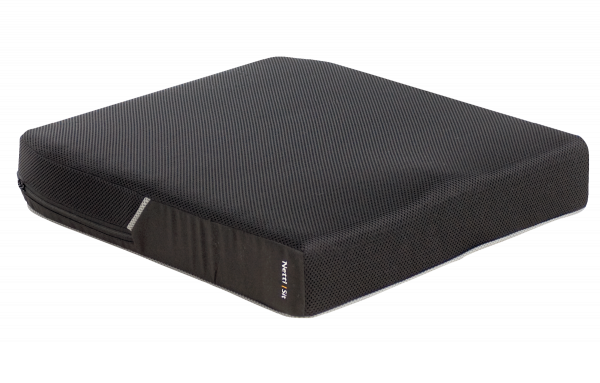
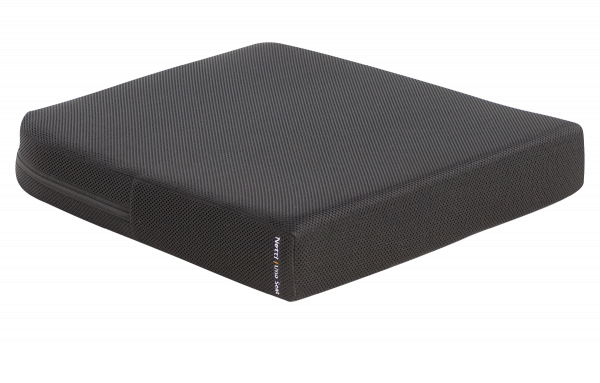
- Seat and seat cushion
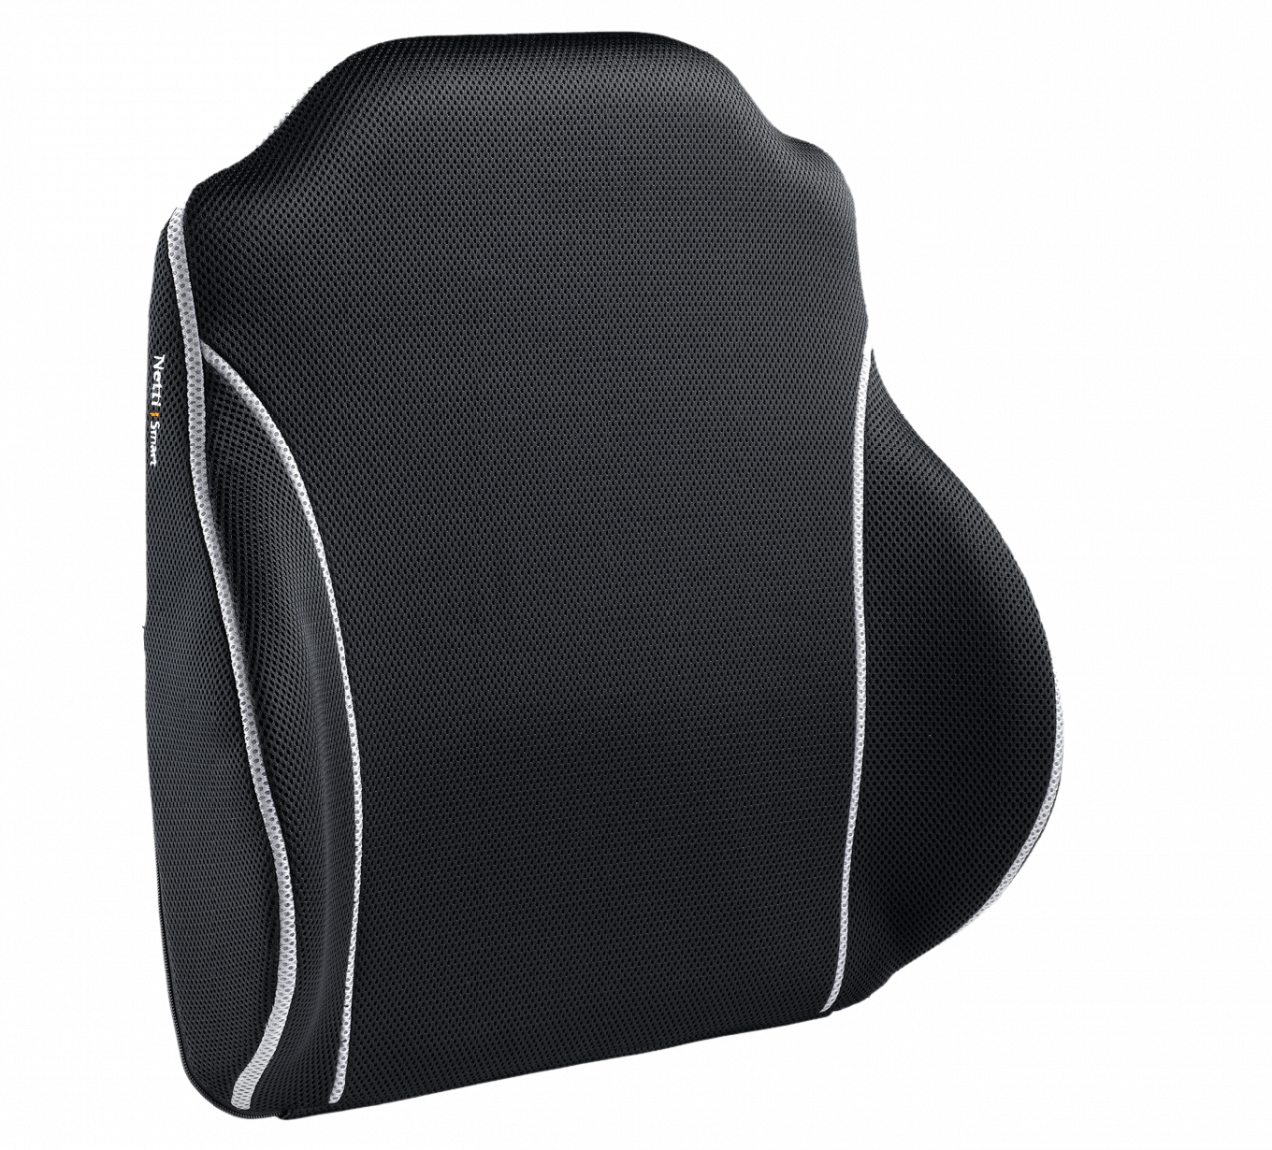
- Back and back cushion
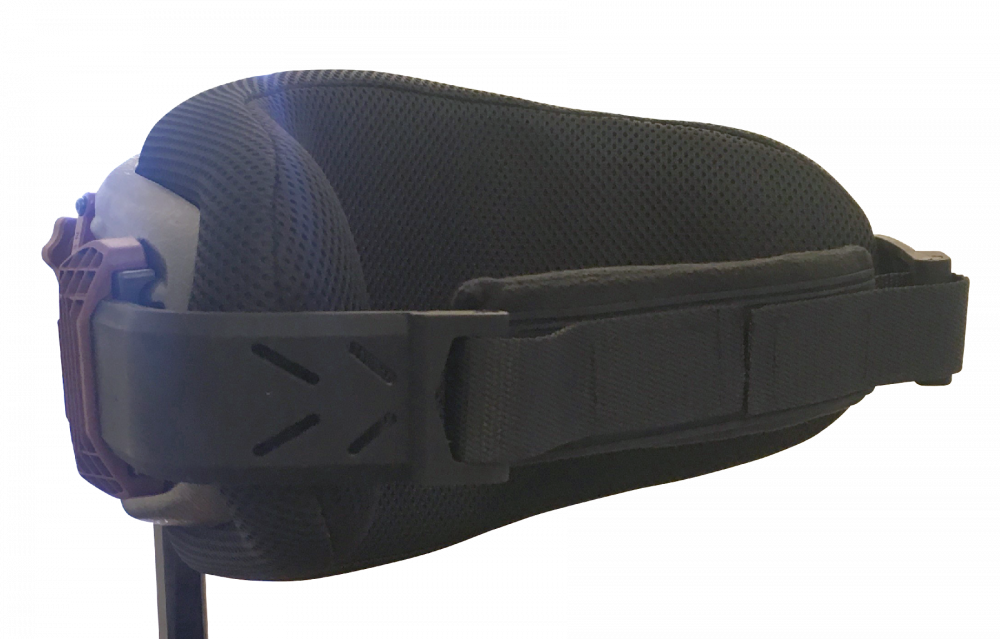
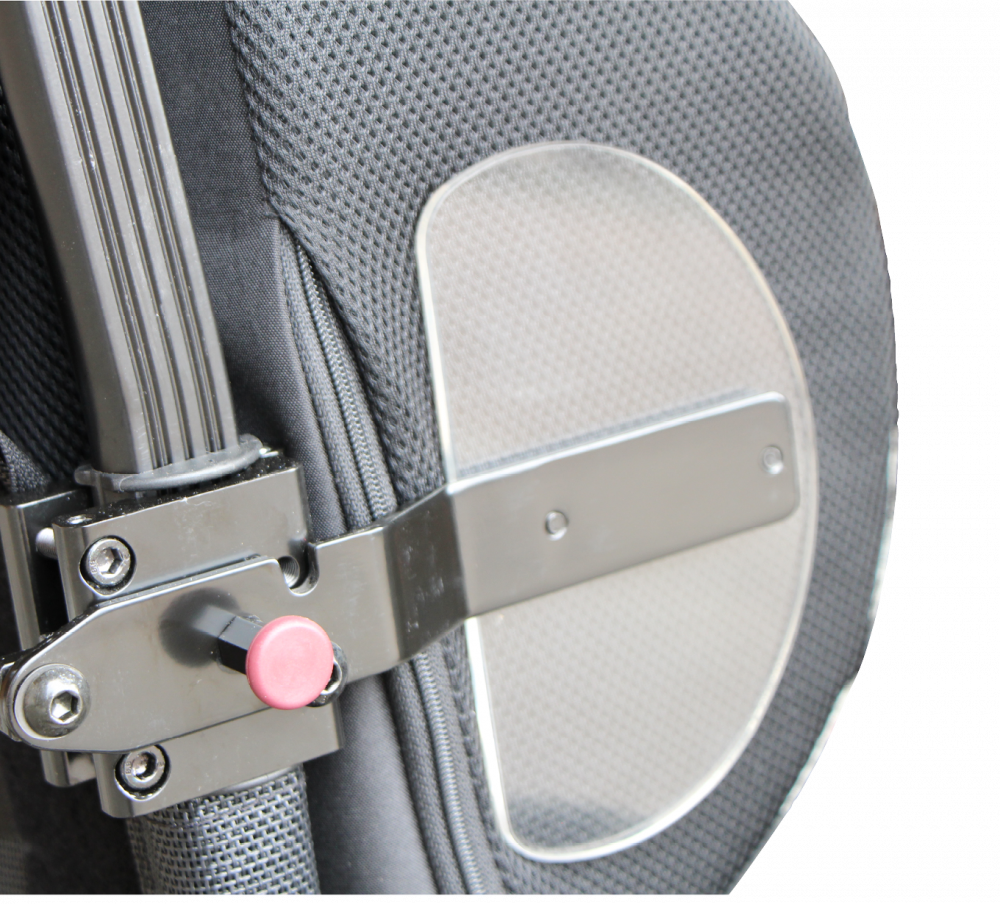
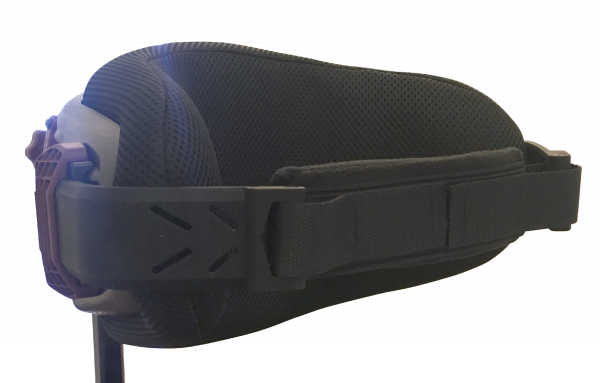
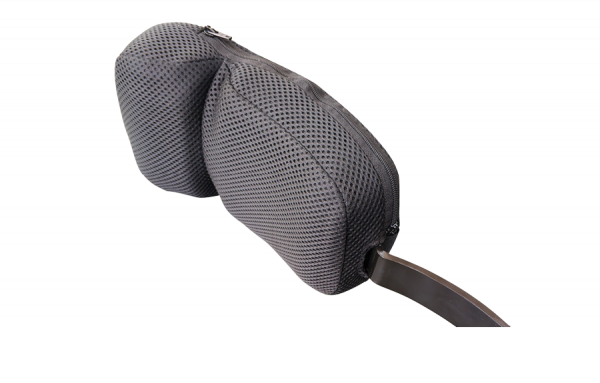
- Head support
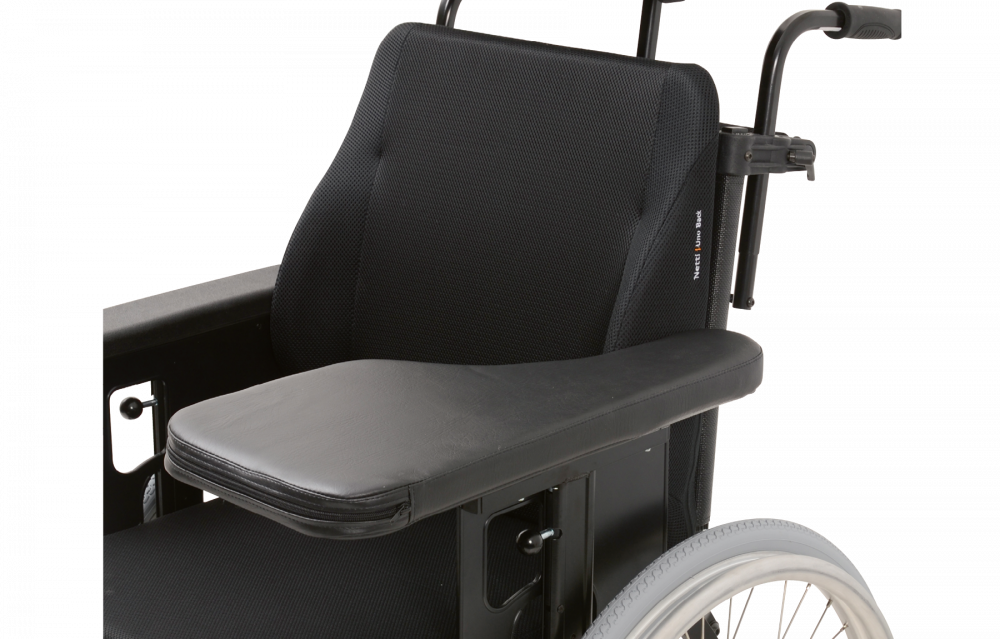
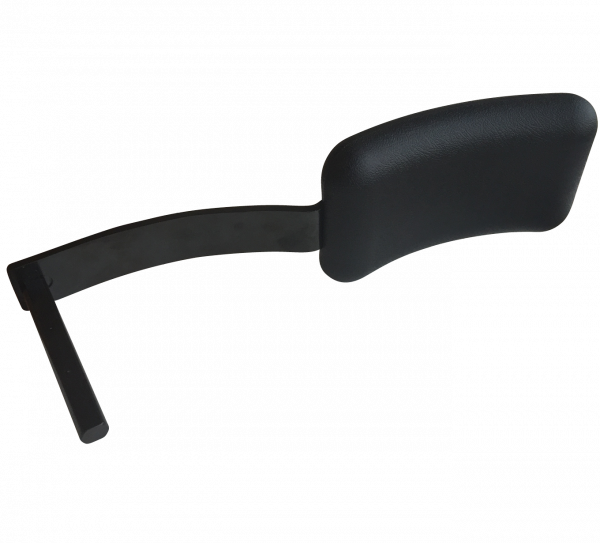
- Arm support
Secondary position and stability can be created by adding accessories like e.g.
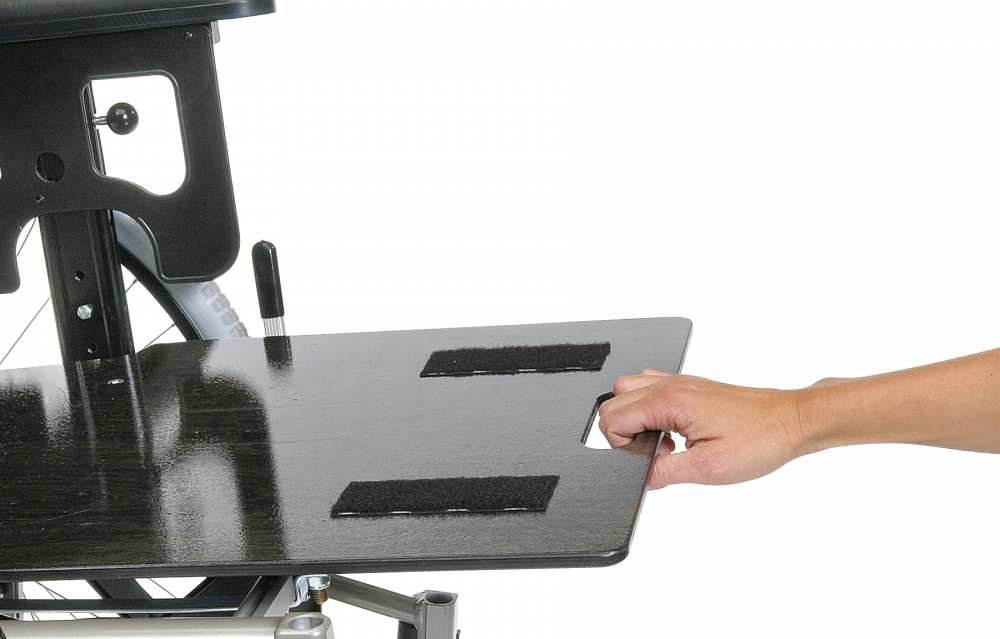
- Tray
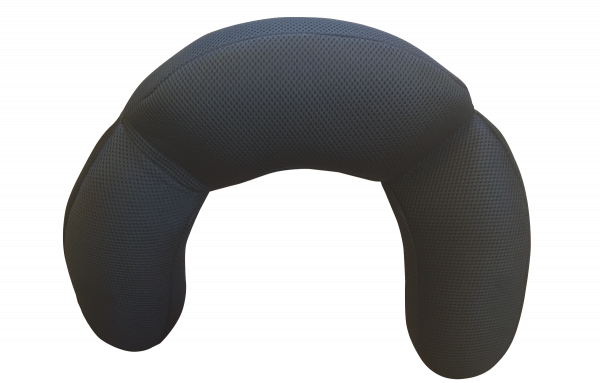
- Side supports
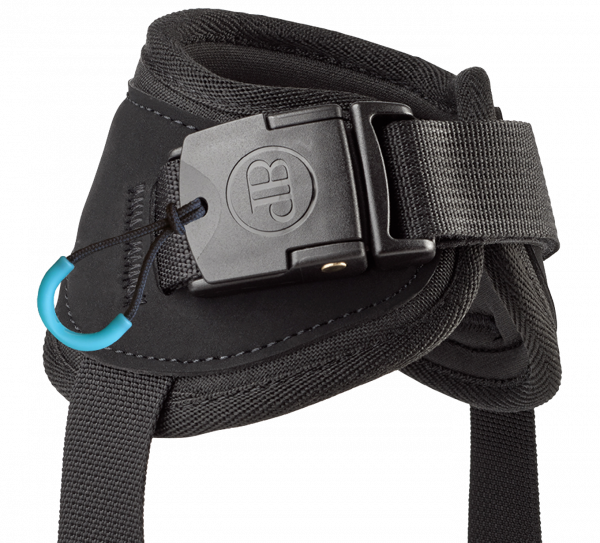
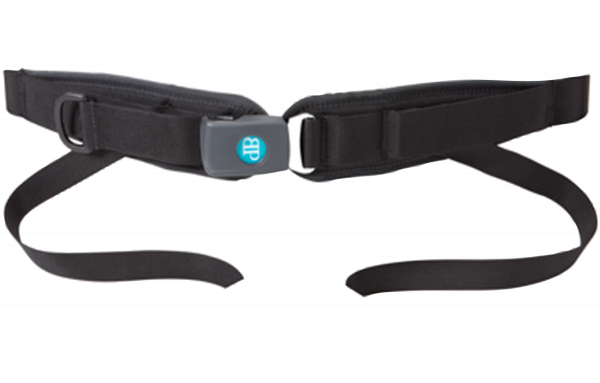
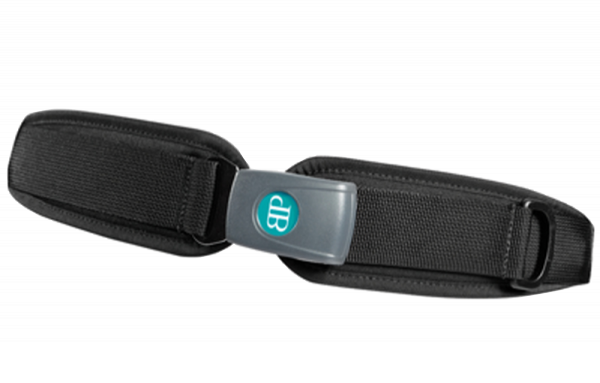
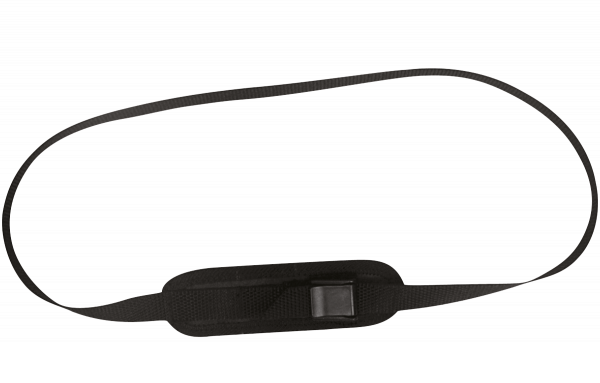
- Hip belt
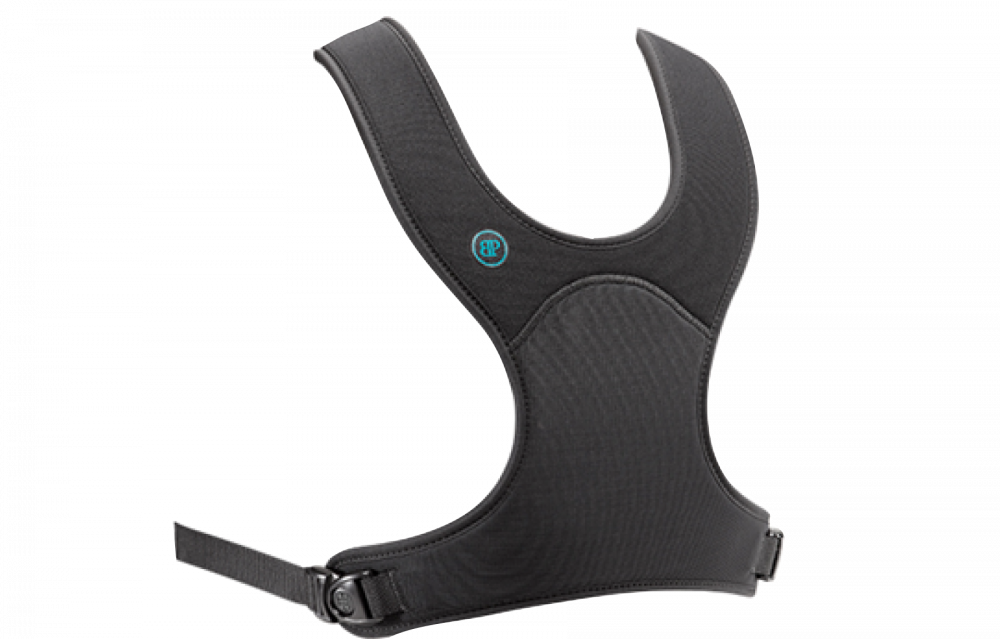
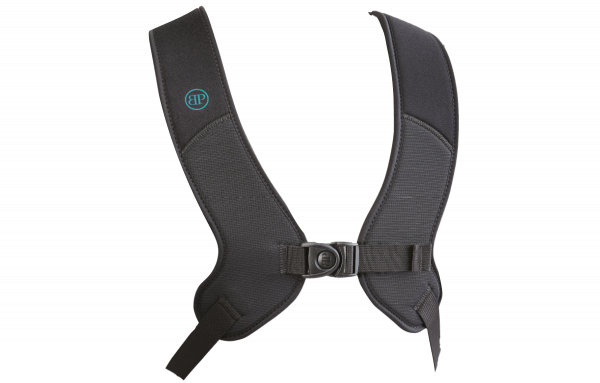
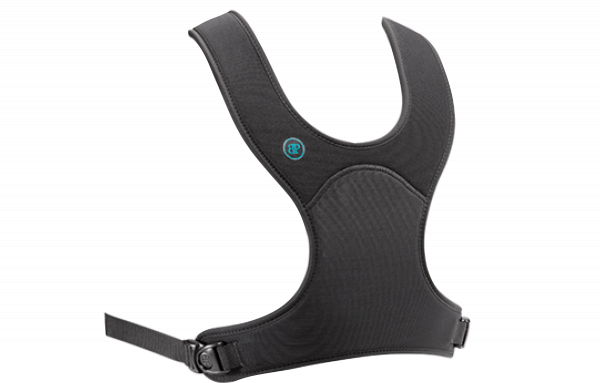
- Harness
In this article we will look at both options. But first, let’s look at the process of doing a optimum fitting:
Netti 5 Seating Steps guide you to the right solution
We recommend starting with defining the expectations and the challenges of the user. This is defined as being the first step in the Netti 5 seating steps.
Using the Netti 5 Seating Steps you at step 1 define the expectations and challenges for
- Rest
- Fine motor movement
- Gross motor movement
- Skin management
This helps to avoid ending up with a disappointed user and guide you to solve the real problem for the user.
The next step, step 2 of the Netti 5 seating steps, is where you observe the users situation and do your assessment. It is at this step where you will gain the information you need about the requirements for positioning and stability.
At step 3, you define the seating strategy and set your SMART goals and it is time to look into what can be added to the wheelchair to create the right position and stability. We assume that creating a good position and stability was one of the goals in this example we talk about today.
At step 4 you create the seating solution and at step 5 you evaluate and make new plans.
CREATING STABILITY WITH THE PRIMARY POSITION TOOLS
Support the legs
The first choice to create position and stability are leg supports. The leg supports need to be placed correctly and adjusted to support the feet. Remember that many users have short hamstrings which will influence the position of the pelvis. When short hamstrings are involved, 90 degree or less angled leg support are highly indicated. Please look at our article about kyphosis for more information.
Please keep in mind that the starting point not always are the feet but can be the seat, or at more rare occasions other areas.
Stability at the back
This can be created by the choice of back systems, where we offer the following solutions – the solutions offering the lowest level of support mentioned first:
- Aluminium back
- Netti one-piece back cover
- Netti adjustable back cover
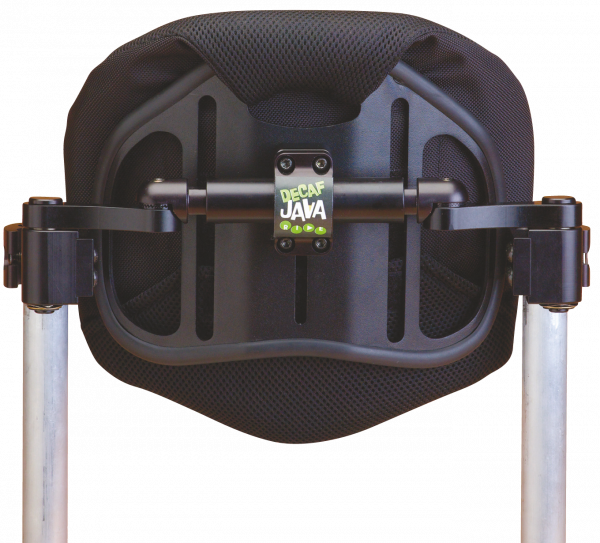
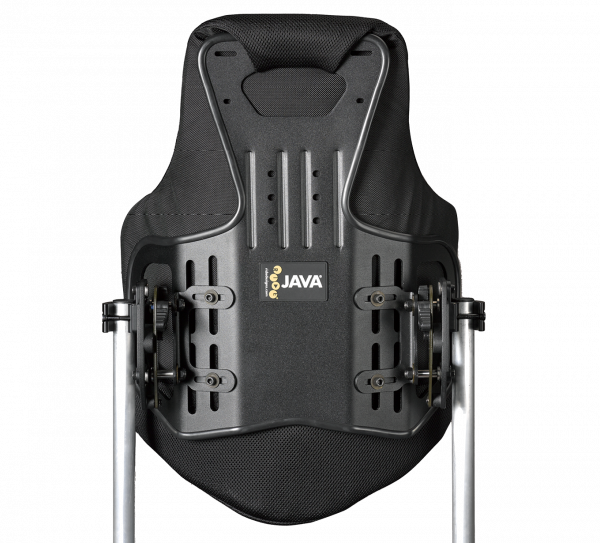
- Ride Designs Java back / Java Decaf back (paediatric)
- Ride Designs Custom.
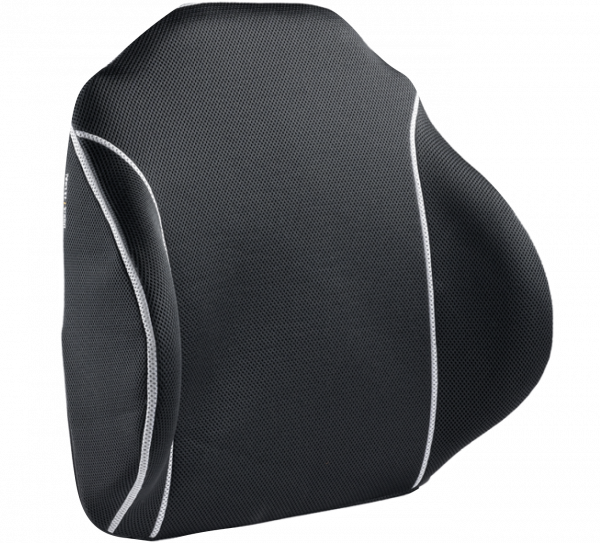
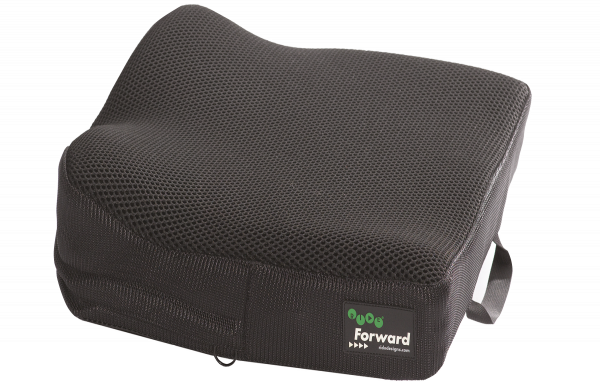
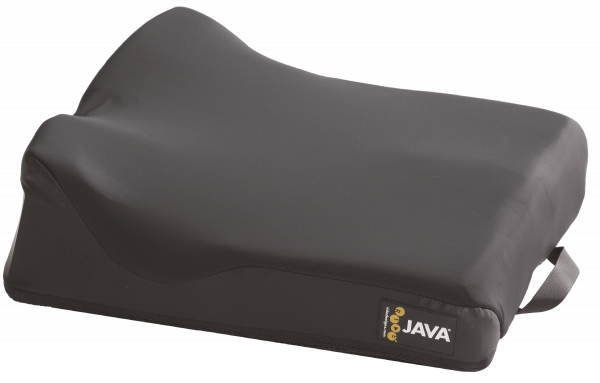
When it comes to back cushions, we offer the following solutions – the solutions offering the lowest level of support mentioned first:
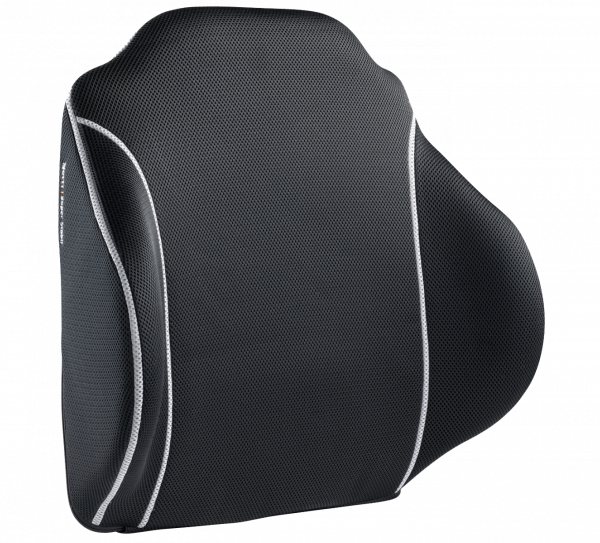
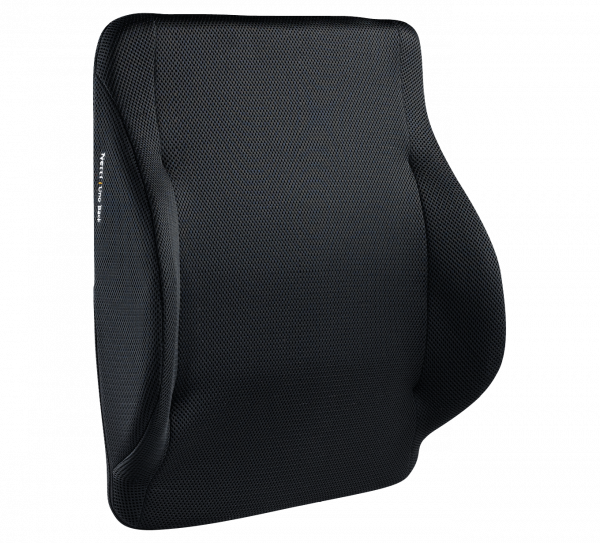
- Netti Uno
- Netti Smart
- Netti Stabil
- Netti Super Stabil
The Netti Kyphotic cushion is difficult to place on this scale but is the perfect back cushion to use when the user has a kyphotic back.
After having made the choices for the leg support, the seat unit including cushions, the amount of tilt and recline, and head and arm support, it is time to see if any secondary positioning equipment is needed.
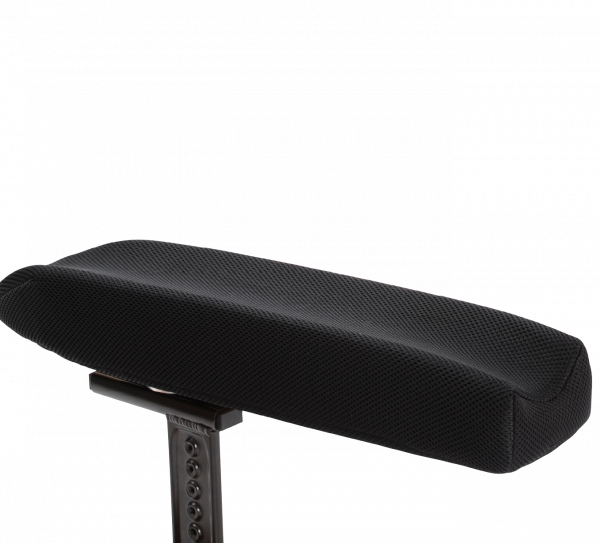
Support for the arms
The height, length, width, upholstery and position of the arm support are important areas to optimize the seating position and can create extra stability for the user.
Keep in mind though that this way of creating stability is not a good one as stand-alone or in the long run if it is supposed to create stability in the body/trunk. Having the user to stabilize themselves on their elbows is creating a high load to the shoulder and neck area and will lead to discomfort. In cases like this it is better to create the stability at other places so the elbows/arms can rest on the arm support. The arm support should be seen as a resting/relaxing area, not as being a supporting and stabilizing area.
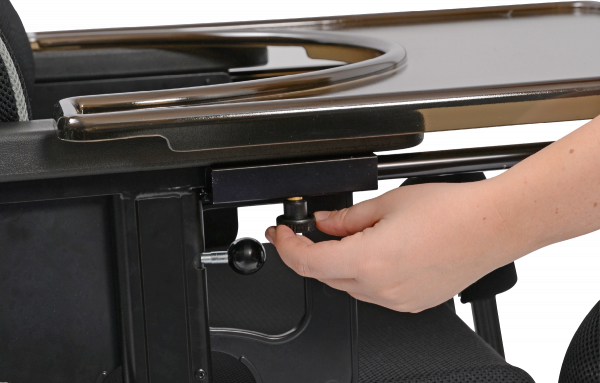
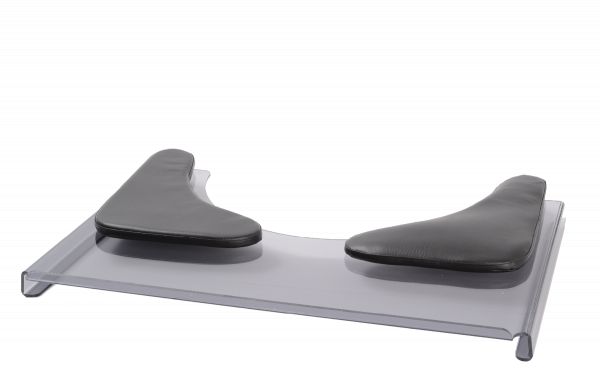
The arm support, half tray and tray should be used to create a platform to rest the arm onto and in this way help to create stability by avoiding that the weight of the arm destabilizes the body.
CREATING STABILITY THROUGH SECONDARY POSITION TOOLS
The challenge we face when adapting a wheelchair to a user is complex, because different users need different support to maintain position and stability.
A SCI user has often challenges related to the level of instability due to the damage being at a certain level of the spine, while e.g. a CVA user has often a strong difference between the function of the left and right side of the body. Some users have the lack of force as being the main challenge for creating position and stability while others have strong uncontrolled movements as their challenge.
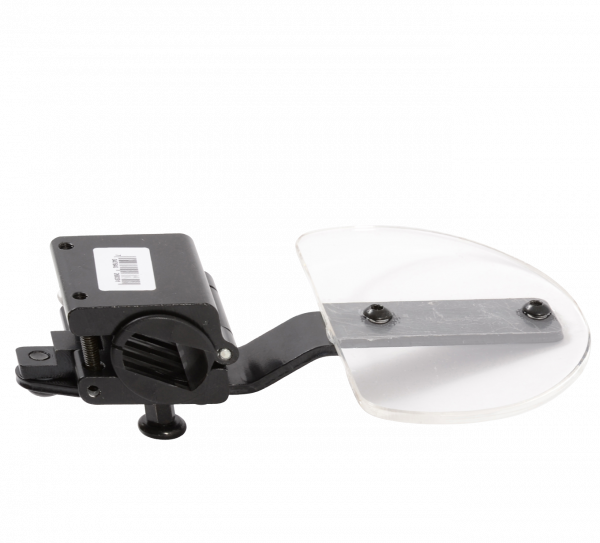
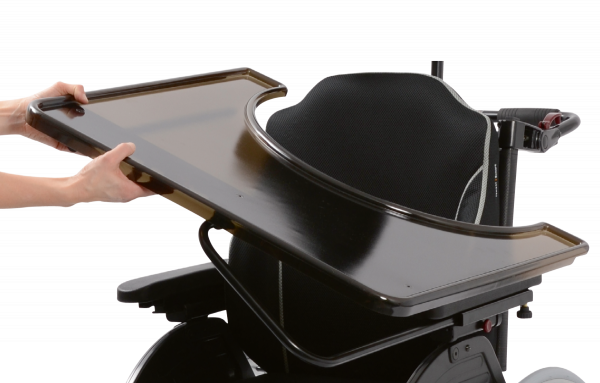
Tray and half tray
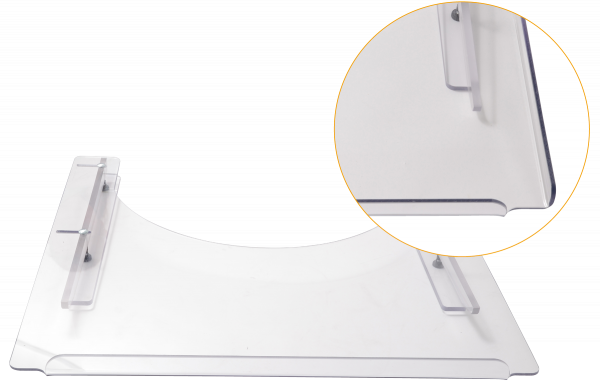
It is often forgotten that a tray or a half tray can have a stability function as well as a “tray” function. In some cases, tray or half tray will be the perfect support for the arms. It is though important to realize that the placement of the arm will influence the center of gravity so always check the symmetry of the user.
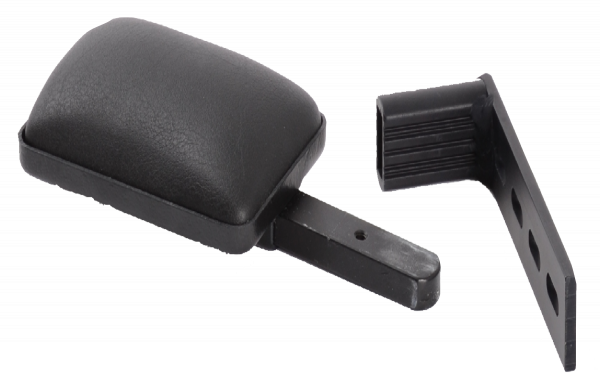
Side support
Side supports are also great to use when creating position and stability. In many cases the optimum position is created but the “time factor” is forgotten. Remember, these users are often sitting between 8 and 12 hours in their wheelchair. This requires the need to sit and be active at certain times, and to sit and relax at others.
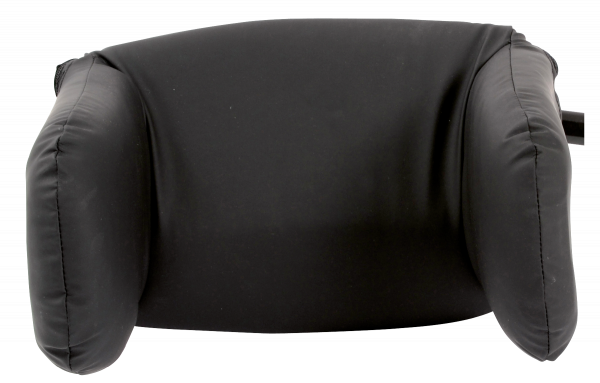
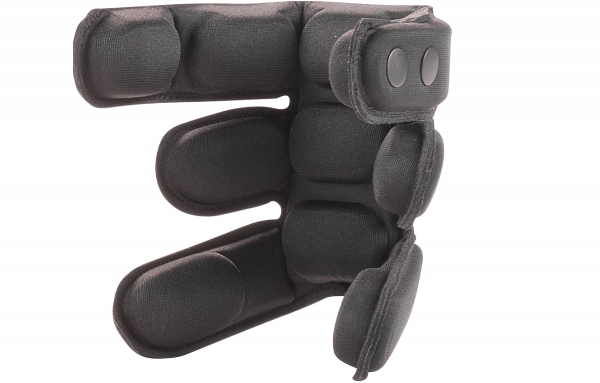
The built-in side supports of the back cushions provide the first quality of support which can be reinforced by side supports (the Netti “lateral support stabil”). If this does not give the correct stability more complex side support as Netti “side support Correction” can be used. These can be adjusted in all directions and create stability for users who have a forward tendency since this side support can support the front of the trunk.
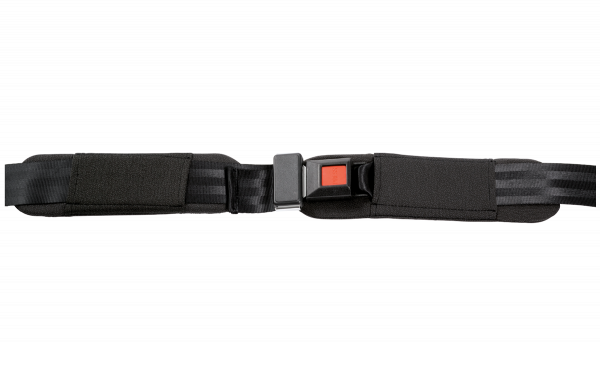
Belts and harnesses
Belts and harnesses are great secondary positioning tools and can help to create stability.
But remember that many factors need to be taken into consideration
Safety:
- Some belts or harnesses can restrict circulation, blood flow, air flow when not used correctly. E.g., always use a hip belt when the user uses a harness. If no hip belt is used, the user can slide downward and forward and can suffocate.
- Depending on the forces on the belt and on the frequency, it can be important to know about slippage of the belt. When using a belt for a user with involuntary movements, a belt with a lot of slippage will mean a loss of position, an increased chance to develop decubitus, to slide out of the chair
- The angle at what the belt or harness is placed is essential to the function which is needed. A hip belt can easily be placed at 5 different angles within a 90-degree range. The angle of the hip belt needs to be seen in relation to the users needs for position, mobility, and stability. Choosing the wrong angle can again mean loss of position, an increased chance to develop decubitus, to slide out of the chair.


